
With a new LCD screen and higher resolution images and video, the new RICOH THETA X is a fantastic camera for businesses in real estate, construction, used car sales and many more companies benefiting from the industry-leading RICOH THETA camera line. Although the APIs are largely the same as the previous RICOH THETA V and Z1 models, there are some differences to be aware of that can speed up your development process. Here’s our top 10 tips to get you started.
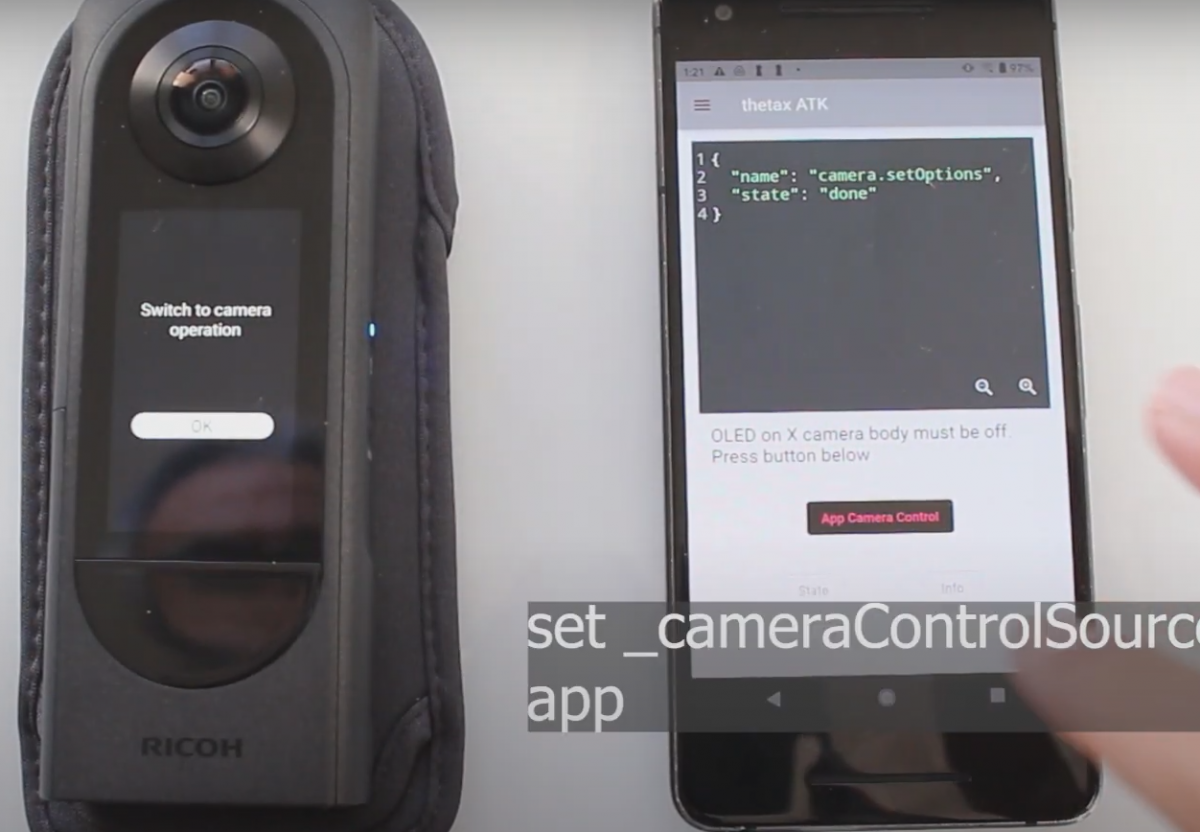
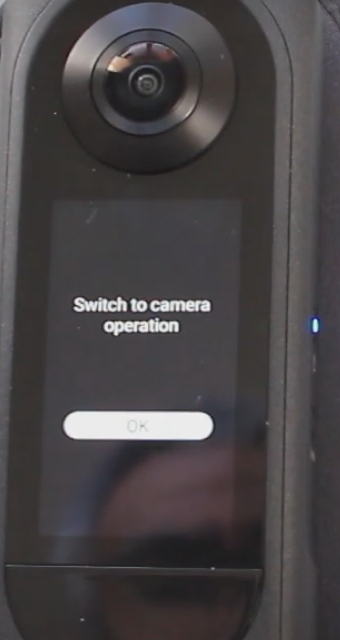
The LCD produces heat. Make sure your custom mobile app turns off the LCD screen on the camera. Setting the option _cameraControlSource to app will turn off the TFT LCD screen, reduce camera heat and improve app reliability. This step is highly recommended and is new with the RICOH THETA X.
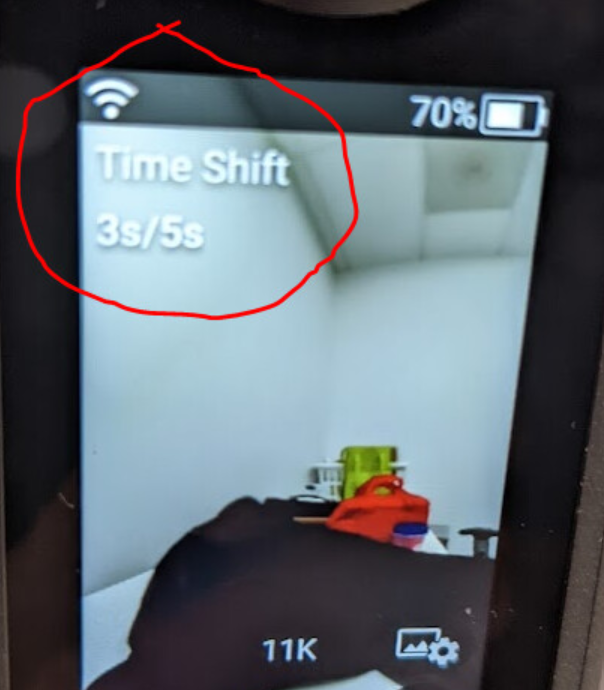
This is a new step for the X that is needed in addition to setting _mode to “timeShift” when you run startCapture.
Example:
{ "name": "camera.setOptions", "parameters": { "options": { "_shootingMethod":"timeShift" } }
See the blog post Set timeShift API for THETA X for more details.
The Z1 only had “Fine” and “Normal” bitrate settings for the video. The THETA X adds “Economy” to make a smaller file size at the tradeoff of decreased video frame quality. You may notice more noise or artifacts in low light conditions.
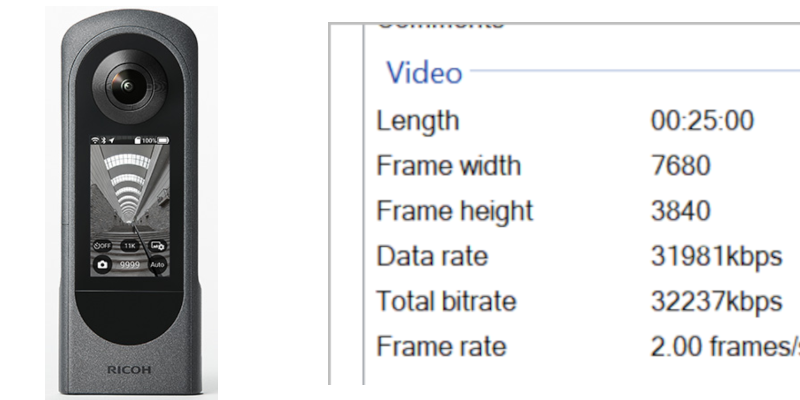
The Default is 5.5K. It can be adjusted in fileFormat.
The default is 4K 30fps. The video resolution is also set in fileFormat.
For video frame extraction to something similar to Street View, set video to
For frame extraction, record 2 minutes of video.
Reference: Tips for capture 360 videos for Street View
The THETA X is the first THETA model to have built-in GPS. Previous models used only gpsInfo to set and read GPS metadata in the media files. You can use ExifTool to inspect the metadata on your development workstation.

There is a slight delay between the time the shutter button on the X is pressed and the activation of the shutter. This appears to be less than a second. We haven’t measured it, but it feels like the delay is around 500ms. If the camera is moved too quickly, it may result in a blurred image.
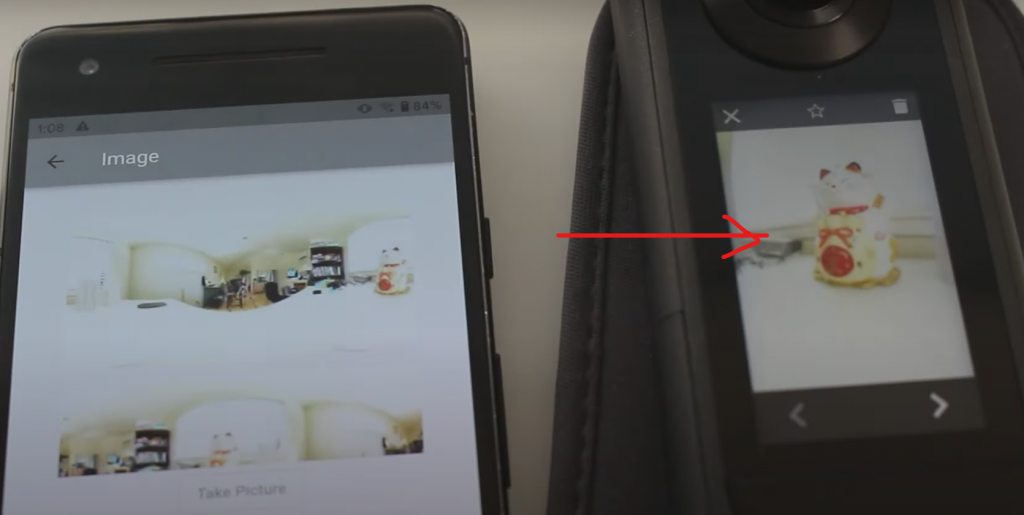
The THETA X comes with two new features to automatically identify and then center either a face or a major object. The centering is handled with metadata, so the viewer will need to read in the metadata and center the image. The _faceDetect option will identify a face and center the picture around the face. _aiAutoThumbnail will identify a major object.
In the picture below, notice that the cat statue was automatically centered.
This mode is similar to burst shooting and will take multiple pictures in a few seconds. The number of shots to take is set with the continuousNumber option, which is new for the THETA X. To put the camera into continuous shooting mode, specify “continuous” in the _mode parameter for startCapture.
If your app is showing unexpected behavior, you may need to insert a small delay between commands. In particular, if you have an algorithm that sets the camera options prior to taking an image or video, considering adding a 1 second delay before triggering the shutter.
There are more tools, sample media, and tests at the THETA X developer community guide portal.
Start the discussion at community.theta360.guide